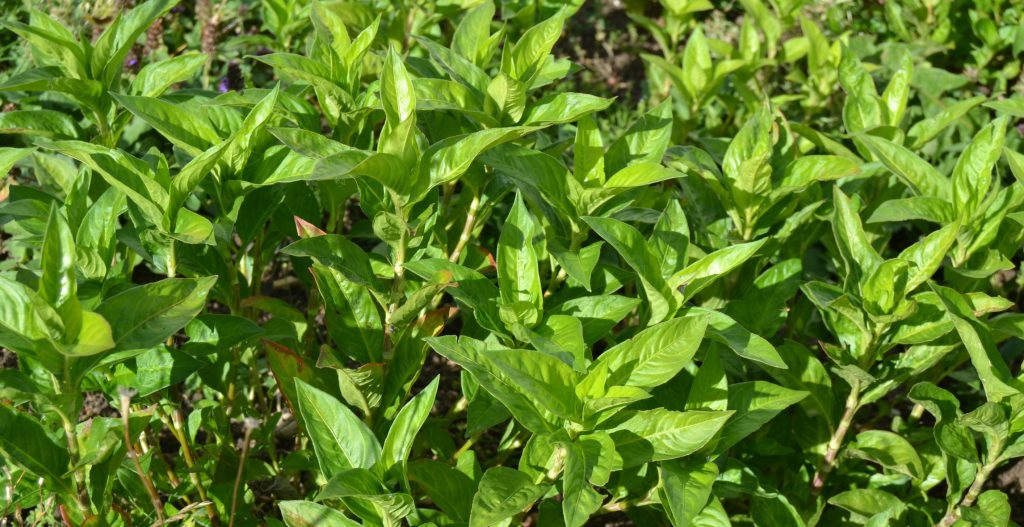
This summer, I grew Japanese indigo
 and woad
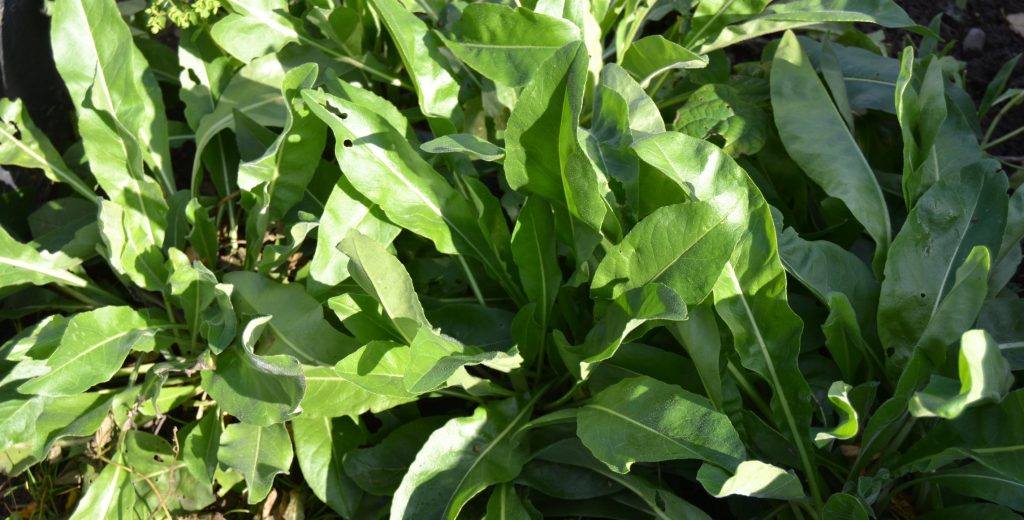
in the garden for the first time. I harvested all of my plants on September 28th (already a long time ago, lots of stuff has been going on here) except the woad plants I left to let them grow a second year in an attempt to get seeds.
After harvest, I had 465 g of Japanese indigo leaves stripped off the stems and 433 g of woad leaves. I’m pleased with this harvest, which came from two rather small patches of land with maybe 12 Japanese indigo plants and a similar number of woad plants.
Following the instructions from “A Dyer’s Garden” by Rita Buchanan, I poured just-boiled water on the woad leaves (it smelled a bit radish-like) and hot (was 44C) tap water on the indigo leaves, then heated them slowly on a double boiler to 71C. It smelled a bit minty almost.
At that point, you strain the leaves out of the dye bath and add base. I used what I happened to have around the house, which was sodium carbonate (it seems that the actual base used doesn’t matter, all that matters is that you must raise the pH). I added 2 spoonfuls to each dye pot.
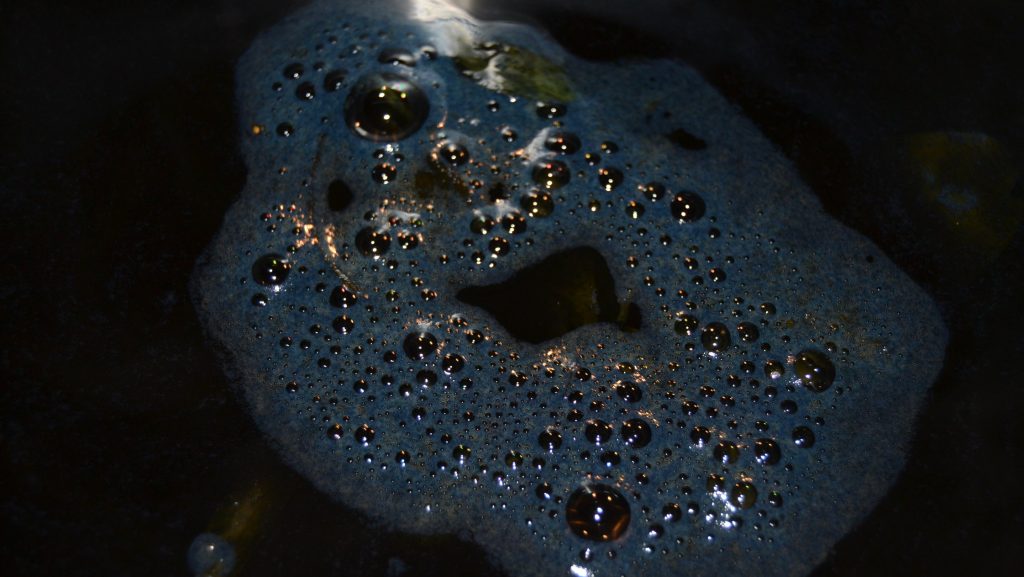
Then comes the magic! By pouring the dye bath several times from one container to another, you introduce oxygen, which oxidizes the precursor indican into the blue form of the indigo molecule. During this step, my woad dye bath changed from reddish brown to dark green and developed a blue-green foam, and the Japanese indigo bath changed to a classical indigo blue with this lovely blue foam on top:
After oxidation, I added one spoonful of sodium dithionite (reducing agent) to each dye bath and let them stand undisturbed until they presented the yellow-green tinge that they should, which took about half an hour. Then it was time to dye! I left my yarn in the dye bath for about 2o minutes.
As expected, there was much less color in the woad bath, which I only used for one 100 g skein. The Japanese indigo bath dyed 3 100 g skeins, and the last one was as intensely colored as the woad skein.
I then tried the used leaves of both the woad and Japanese indigo on 10-g test skeins of alum mordanted wool, using a standard dyeing method (so just keeping it hot but not boiling for an hour). And here they all are:
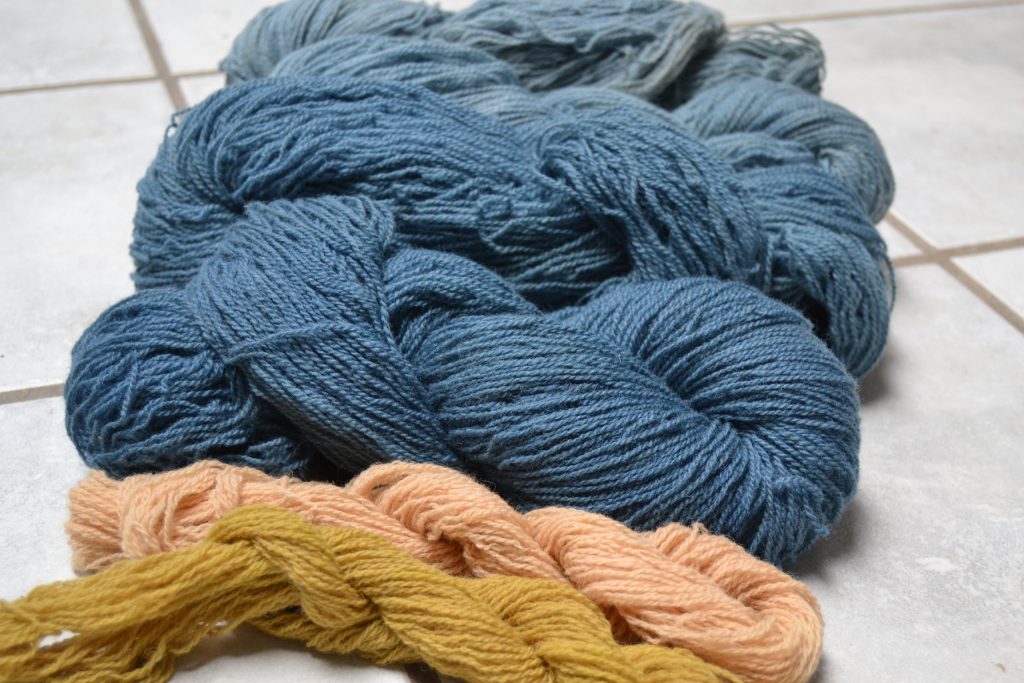
Bottom – yellow/green skein is Japanese indigo leaves on alum mordanted wool, the tan/beige one above is woad leaves on alum mordanted wool. Then the 3 skeins dyed with Japanese indigo, the first and darkest one is the lower one. Finally on top, the skein dyed with woad, maybe you can see its slightly green tinge mixed into the blue.
Seeing these colors that I not only just dyed, but also grew in my garden, I feel such a sense of accomplishment!!! And I have a renewed respect for blue. Imagine the trouble people went through in the past to get this color.
Conclusion: I will be growing Japanese indigo again next year for sure. I’m not sure about woad, since the dye content is a lot smaller.
[…] the abundance of flowers made me want to knit with my woad dyed yarn from last year, and so, it’s become part of a whole obsessive-compulsive series of hats that I’m […]
[…] year, I had luck growing Japanese indigo and woad from seeds that I cultivated indoors before planting outside, so I’ll do the same again with Japanese […]
[…] used the weeded out plants for dyeing, using the method for fresh leaves (same as here). The dye process is as […]
This is so helpful. I have struggeled to find other straight forward methods for both woad and indigo. Thank you! Did you mordant the yarn you dyed with indigo first?