“Homemade” or “handmade”? With knitting, it’s all in the details. Here, I’ll show how I finish a turned hem invisibly.
~
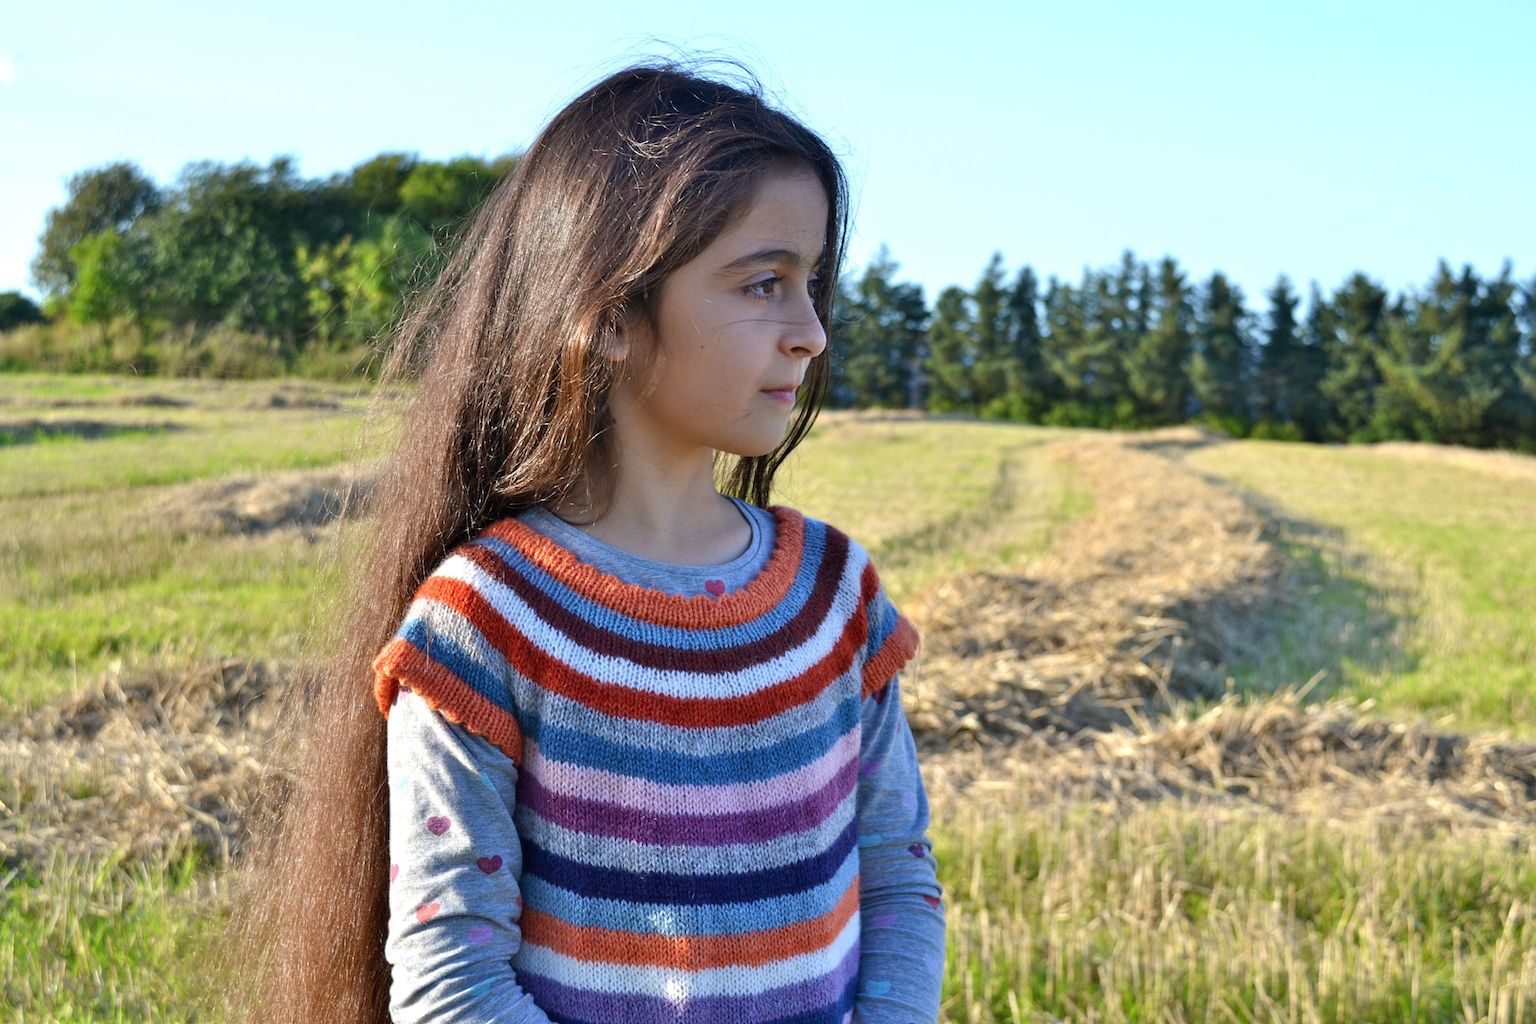
A while ago, I put up some pictures of this little stripy dress (still no pattern out, but it will eventually come!)
But I’m also working on a matching cardigan for boys. Both have turned hems, a very nice edge on knits in my humble opinion. In a turned hem, the knitting is doubled, and the turn is accomplished by knitting a row that has an inherent bend.
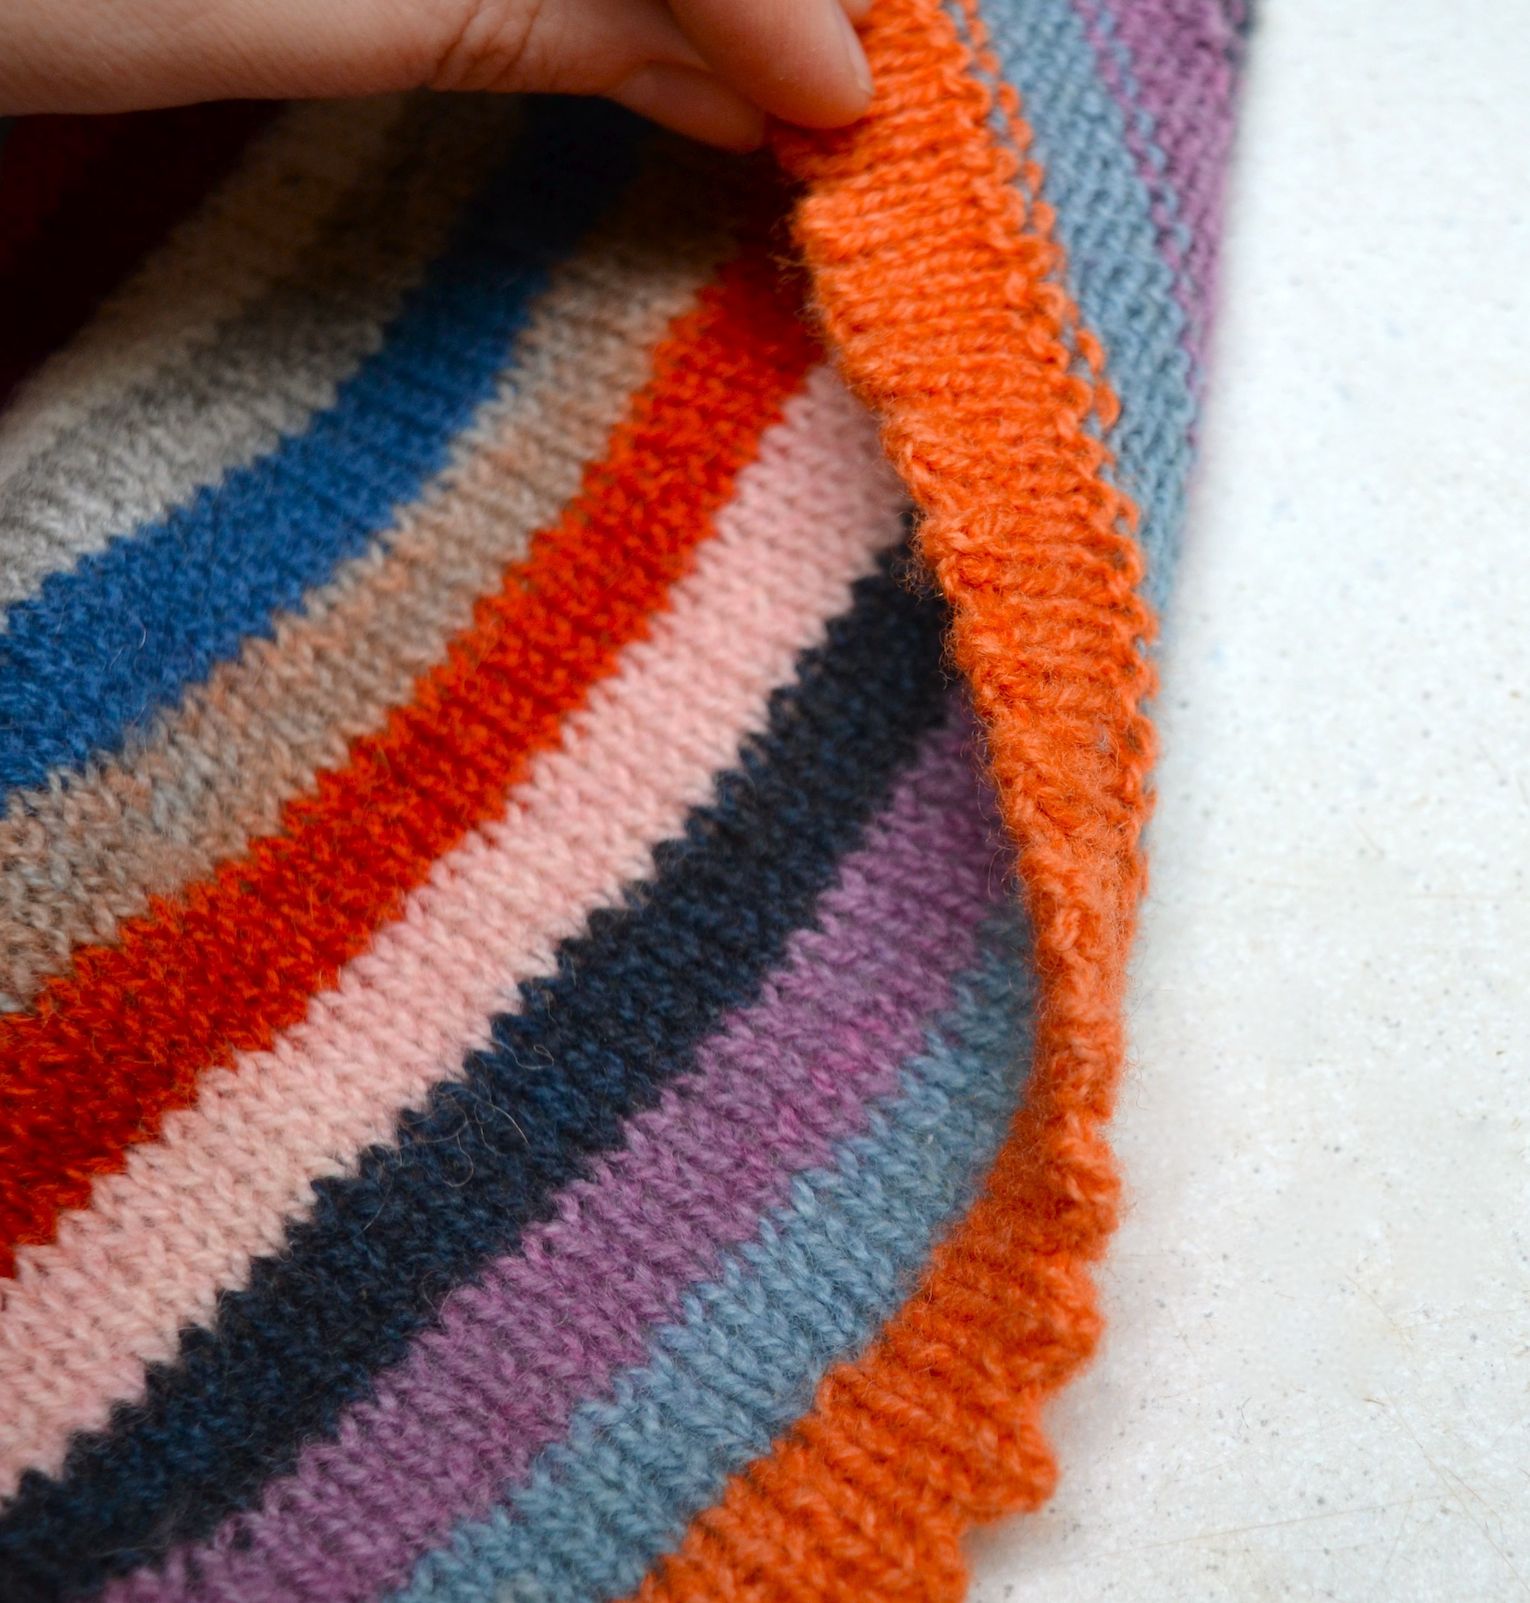
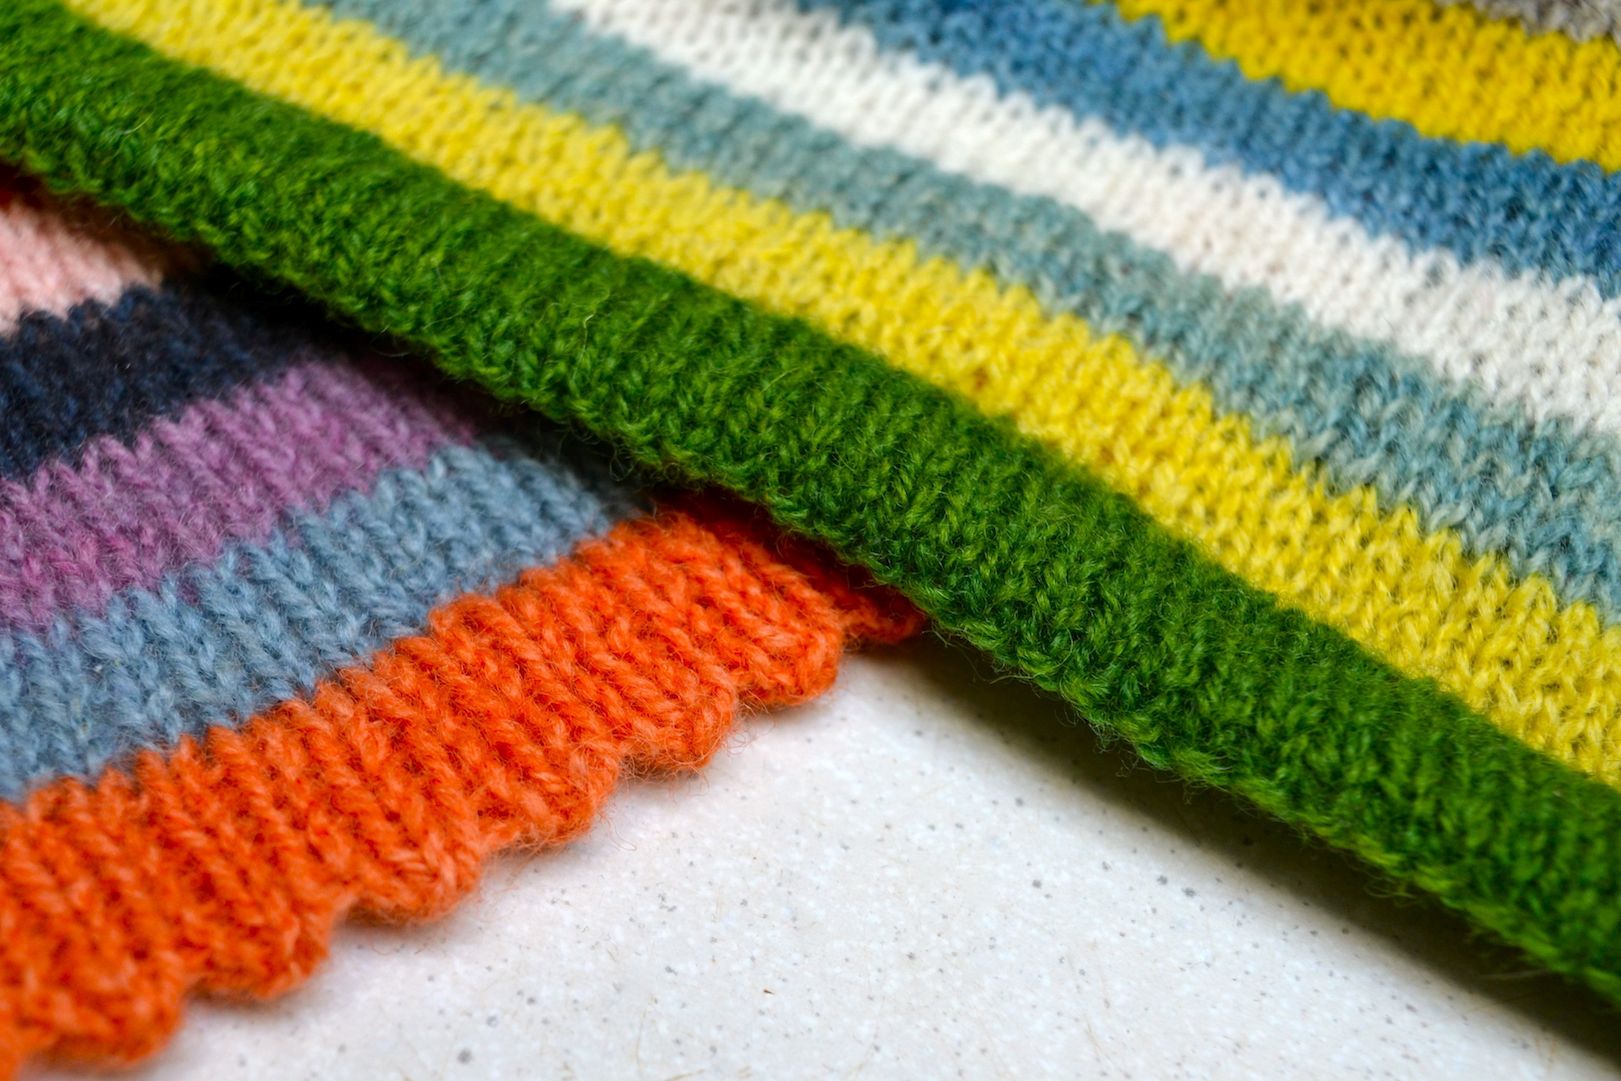
For girl edges, I use a picot (yarn over, knit 2 together) to make the bend:
For boy edges, I simply use a purl row to make the bend, that gives a neutral-looking hem that would fit most any project:
To make a turned hem at the beginning of a knitted piece, I use a provisional cast on. I knit a few rows, make the bend (picots or a purl row), then knit another few rows. After unraveling the provisional cast on, the hem is closed by a row of knit 2 together. It is also possible to use an ordinary, long-tail, cast on, and then sew the turn hem to the inside – some might find that easier, but it gives you a much lumpier hem.
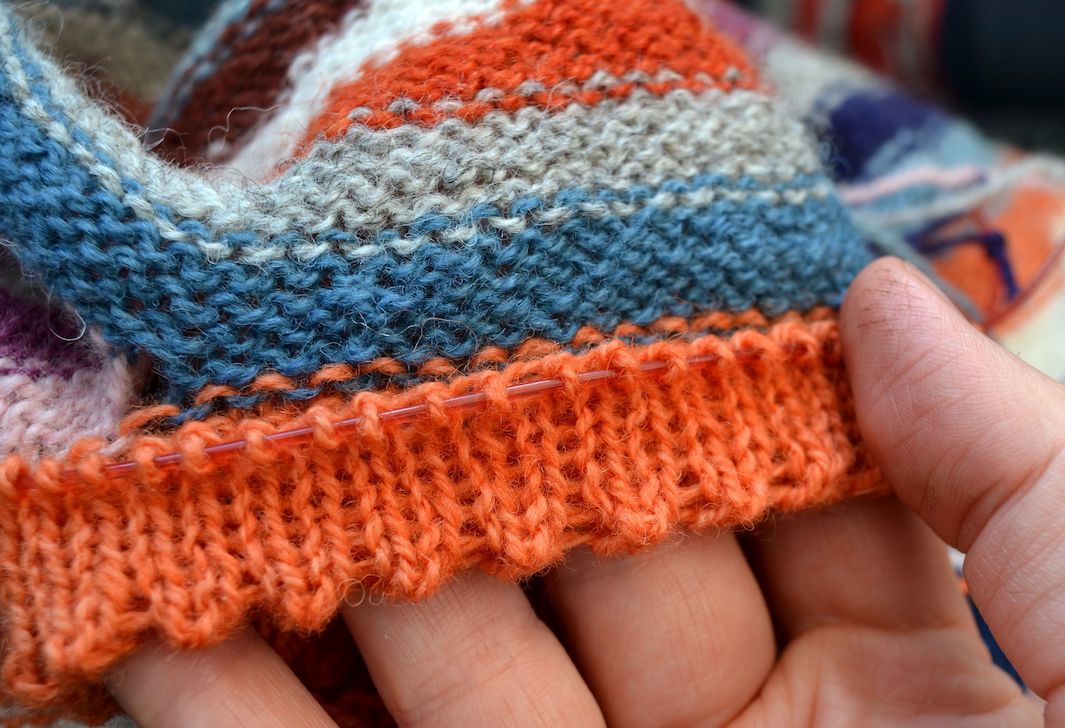
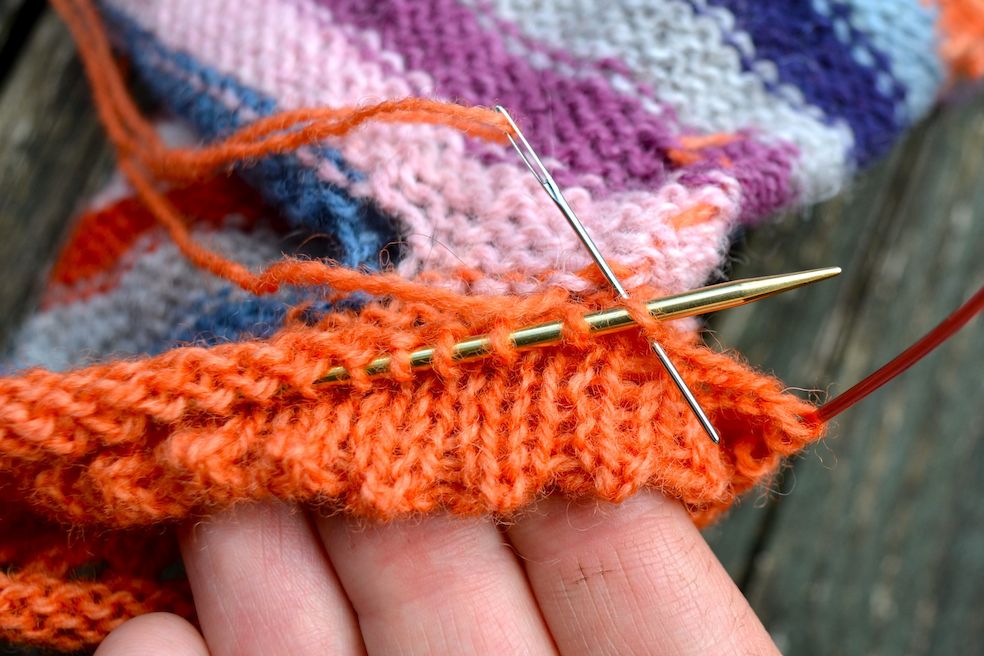
But things are a bit different when finishing with a turned hem. The boy’s cardigan is knit bottom up, so it is finished with a turned hem at the neck. Just before closing the hem, this is what it looked like:
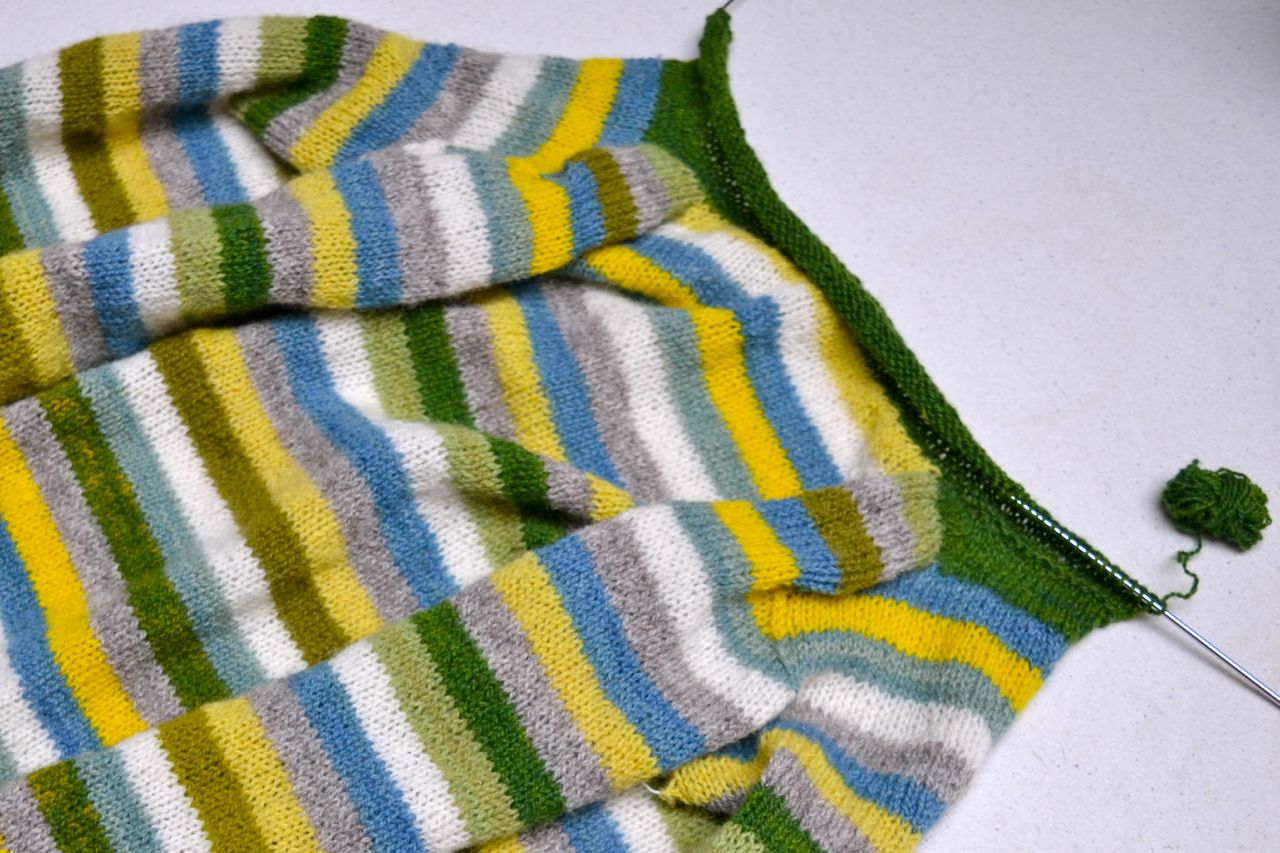
In the picture above, I’ve knit 8 rows of stockinette, purled one row, then knit another 8 rows of stockinette. At that point, you can simply cast off all the stitches and sew the edge to the inside, but again, that gives you a lumpy hem. Instead, I do a kind of semi-kitchener stitch where I weave through the live stitches and the inside of the fabric.
These pictures were taken last summer, when I was finishing the dress (that’s why I have such terrible gardening hands). See the captions below for instructions:
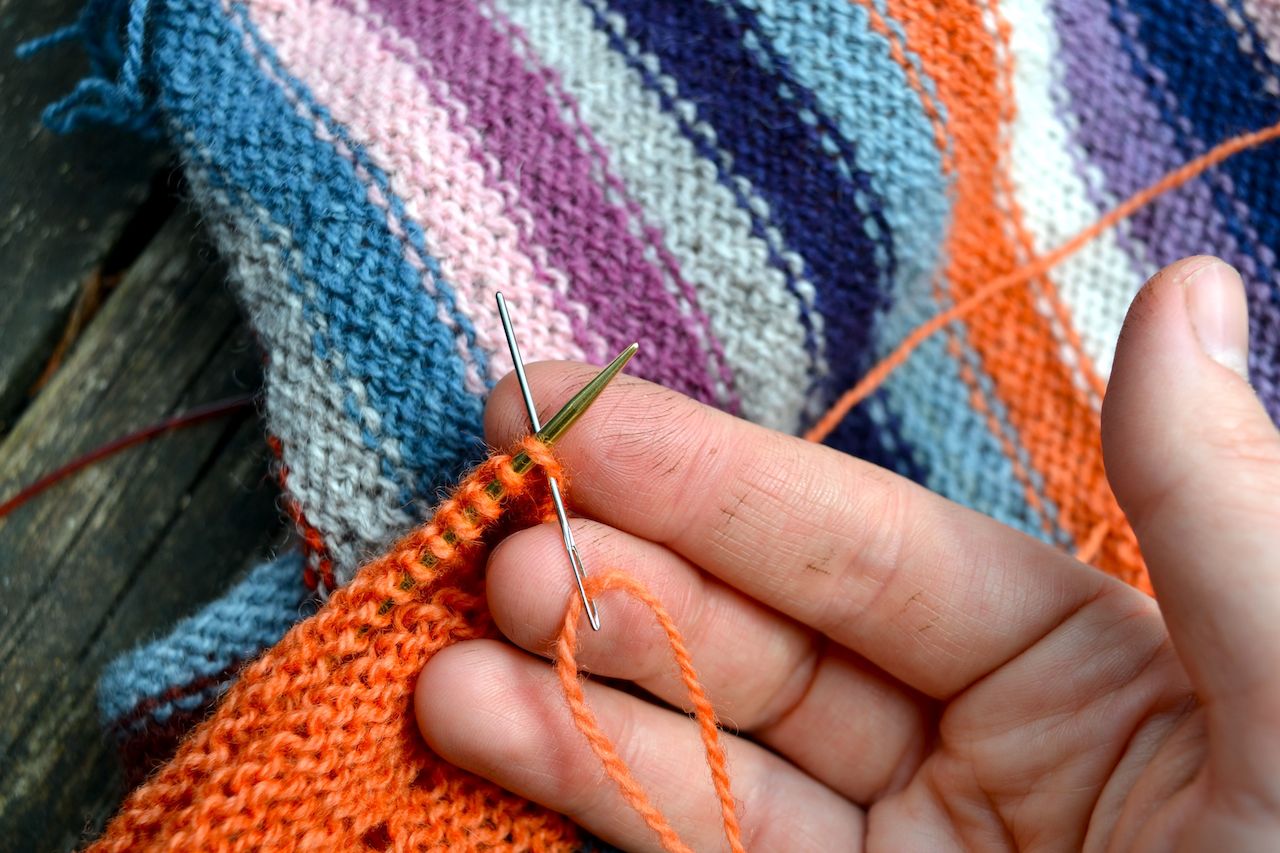
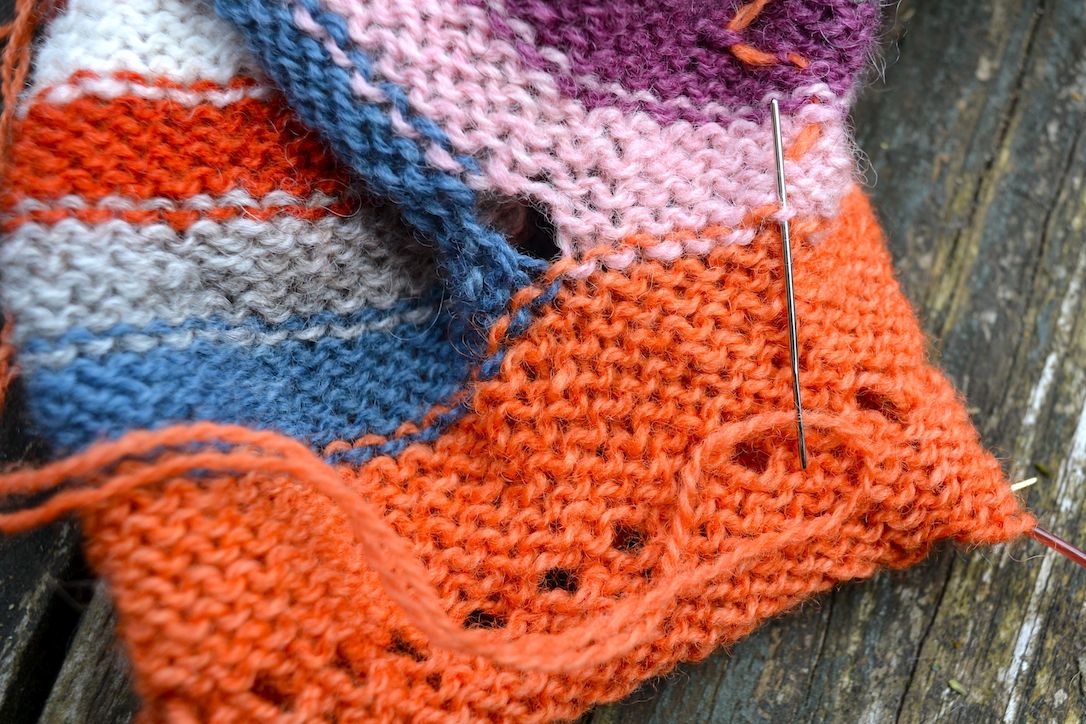
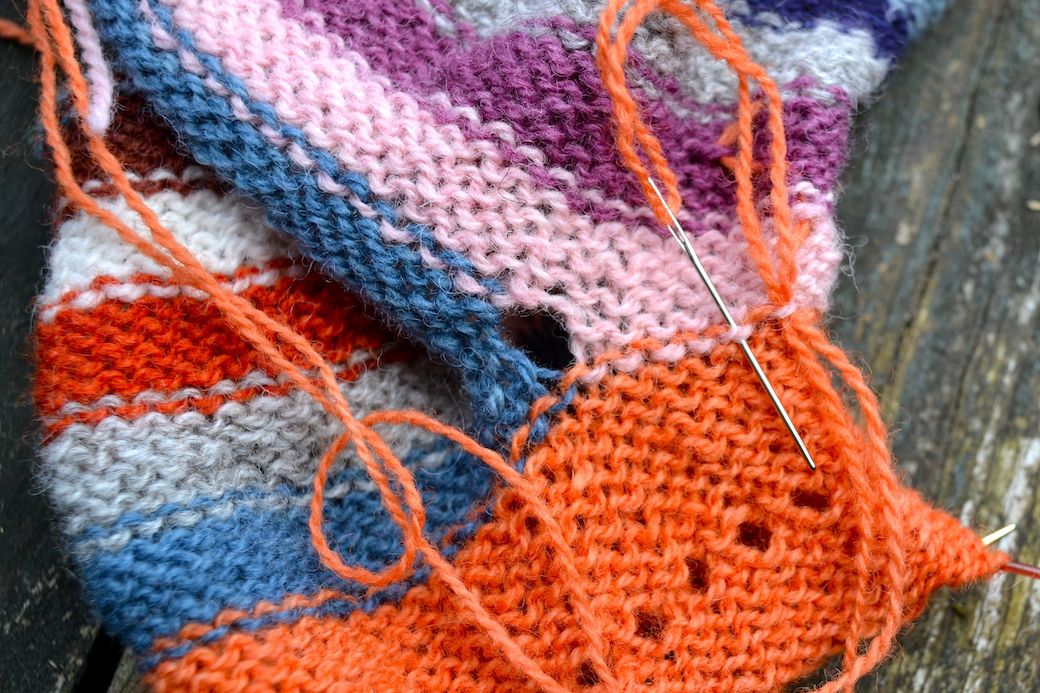
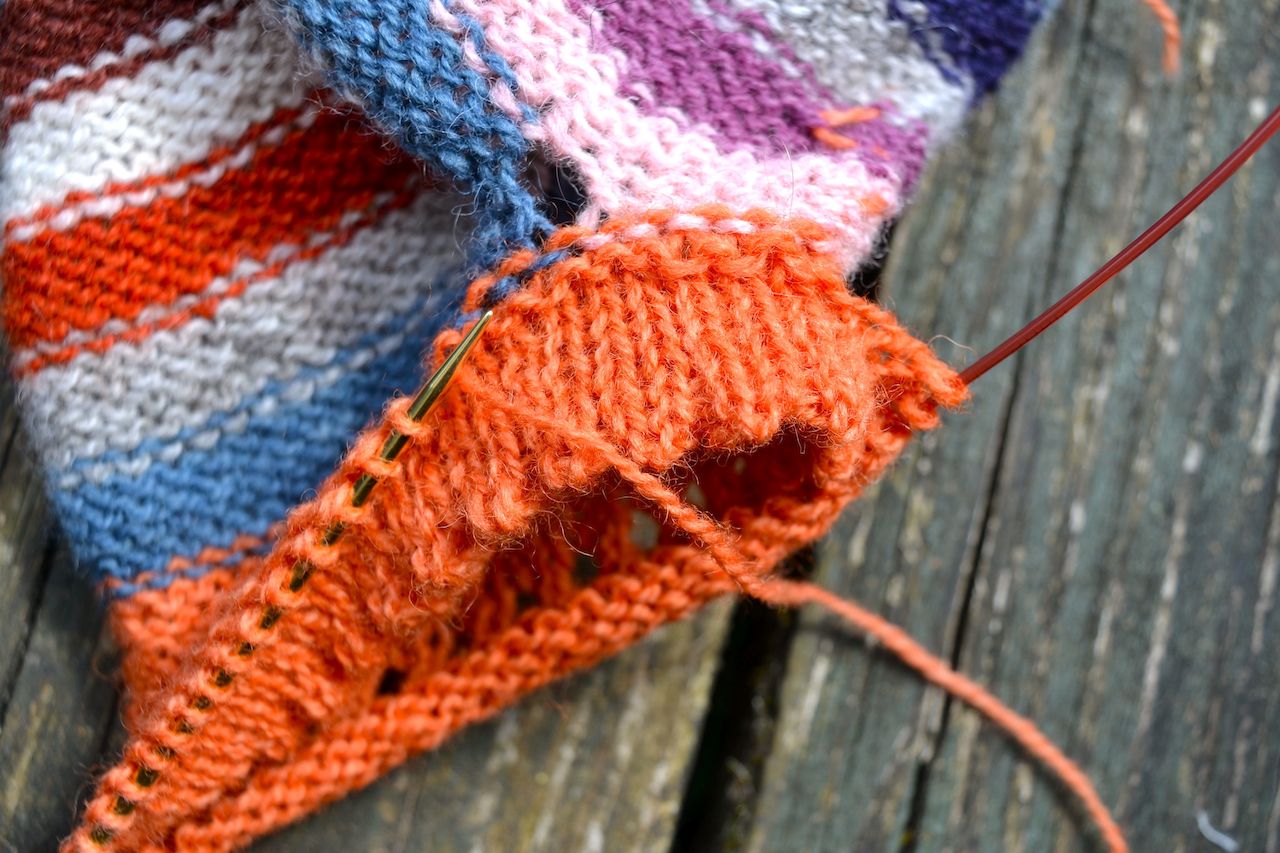
This is how I finish the hems. I find it easier than casting off and then seaming, because you have the bumps on the back side to guide your tapestry needle.
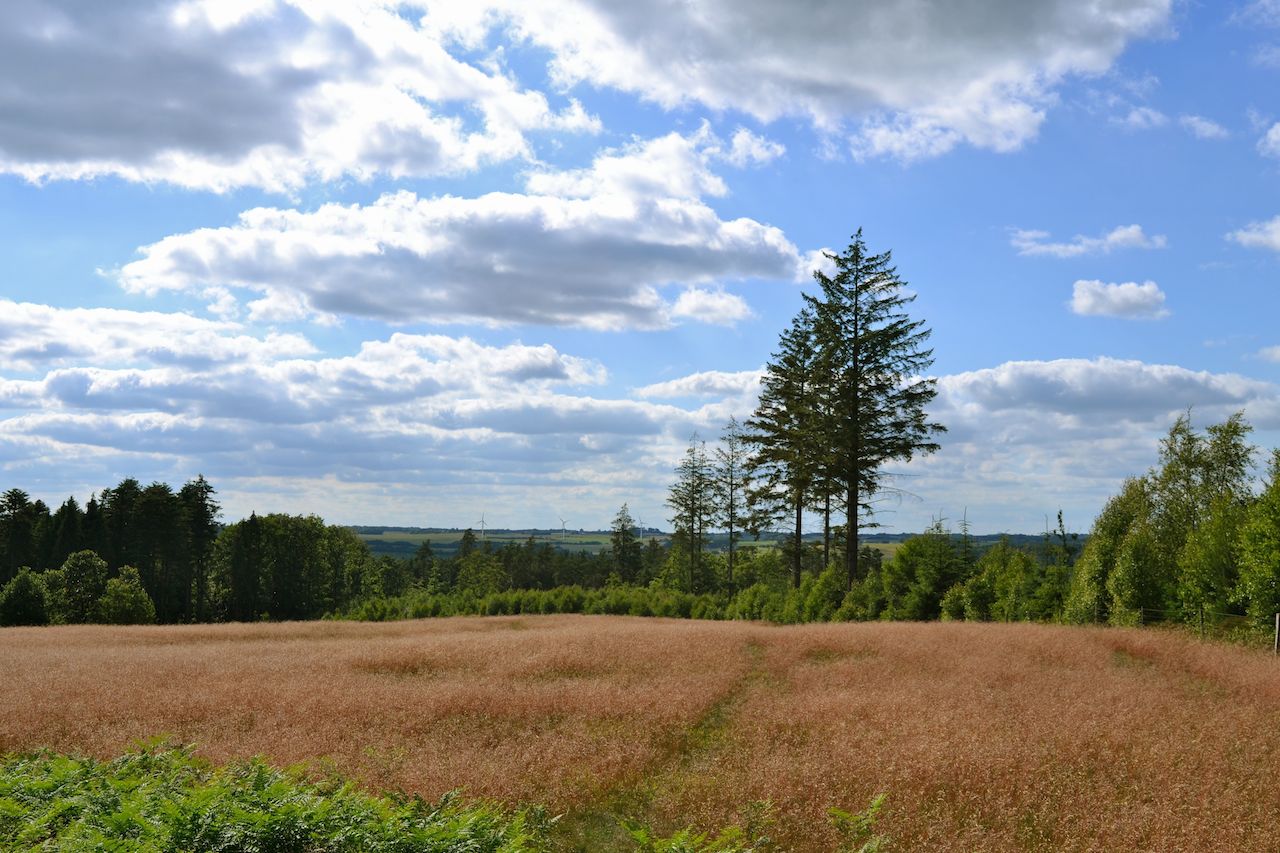
I almost cannot believe that I’ve been sitting on these photos for so long. Summer is just a distant memory around here, we had snow yesterday. This is the next picture on the camera roll, from a walk on the same days as the hem grafting above:
[…] A while ago, I wrote about turned hems. […]