More and more things around here fall into my big indigo vat!
~
I’ve often written about indigo, so I don’t think anybody doubts my undying love for the blue stuff. I usually dye on wool, but indigo works on all natural fibers, so here’s a bit of indigo dyeing I did on cotton.
I found this cotton blouse at the thrift shop, it’s from Thailand, and I like the neckline and the tufted fabric. But, the sleeves make it look very frumpy on me, plus it’s beige and too small.
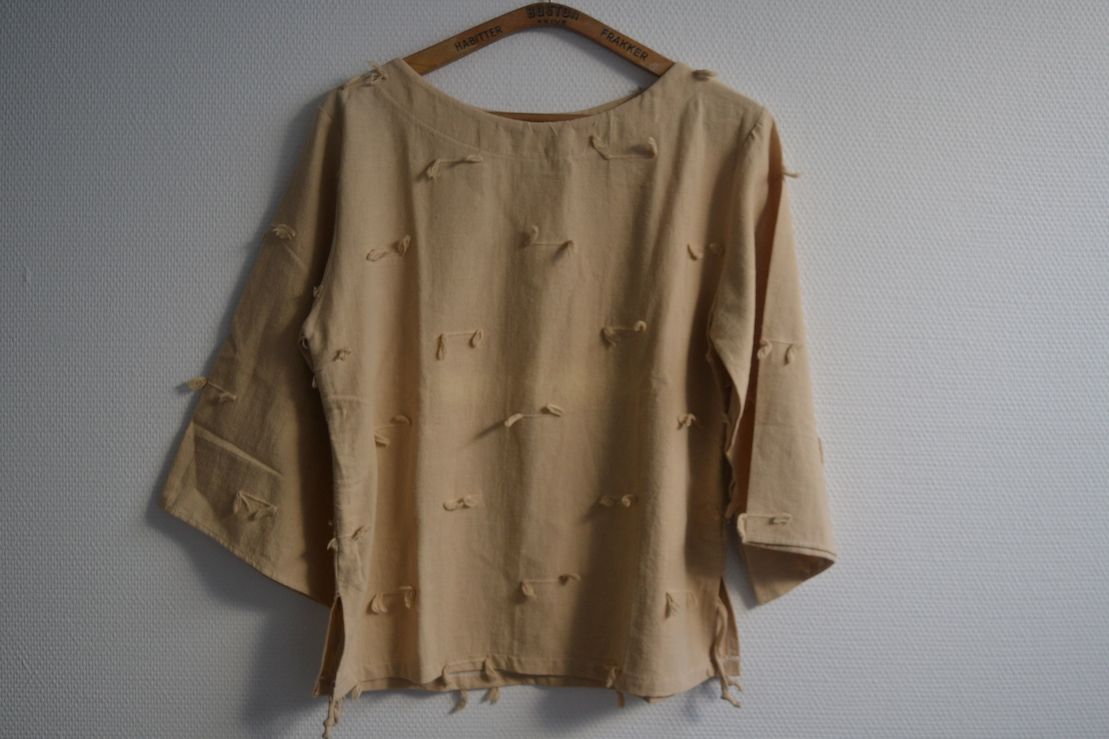
So the top obviously went into the indigo vat, several times. Even with a good strong vat, cotton comes out just medium blue, whereas dyeing wool in the same vat gives a rather dark blue. And also, I had terrible trouble dyeing an even blue even though my vat is large enough.
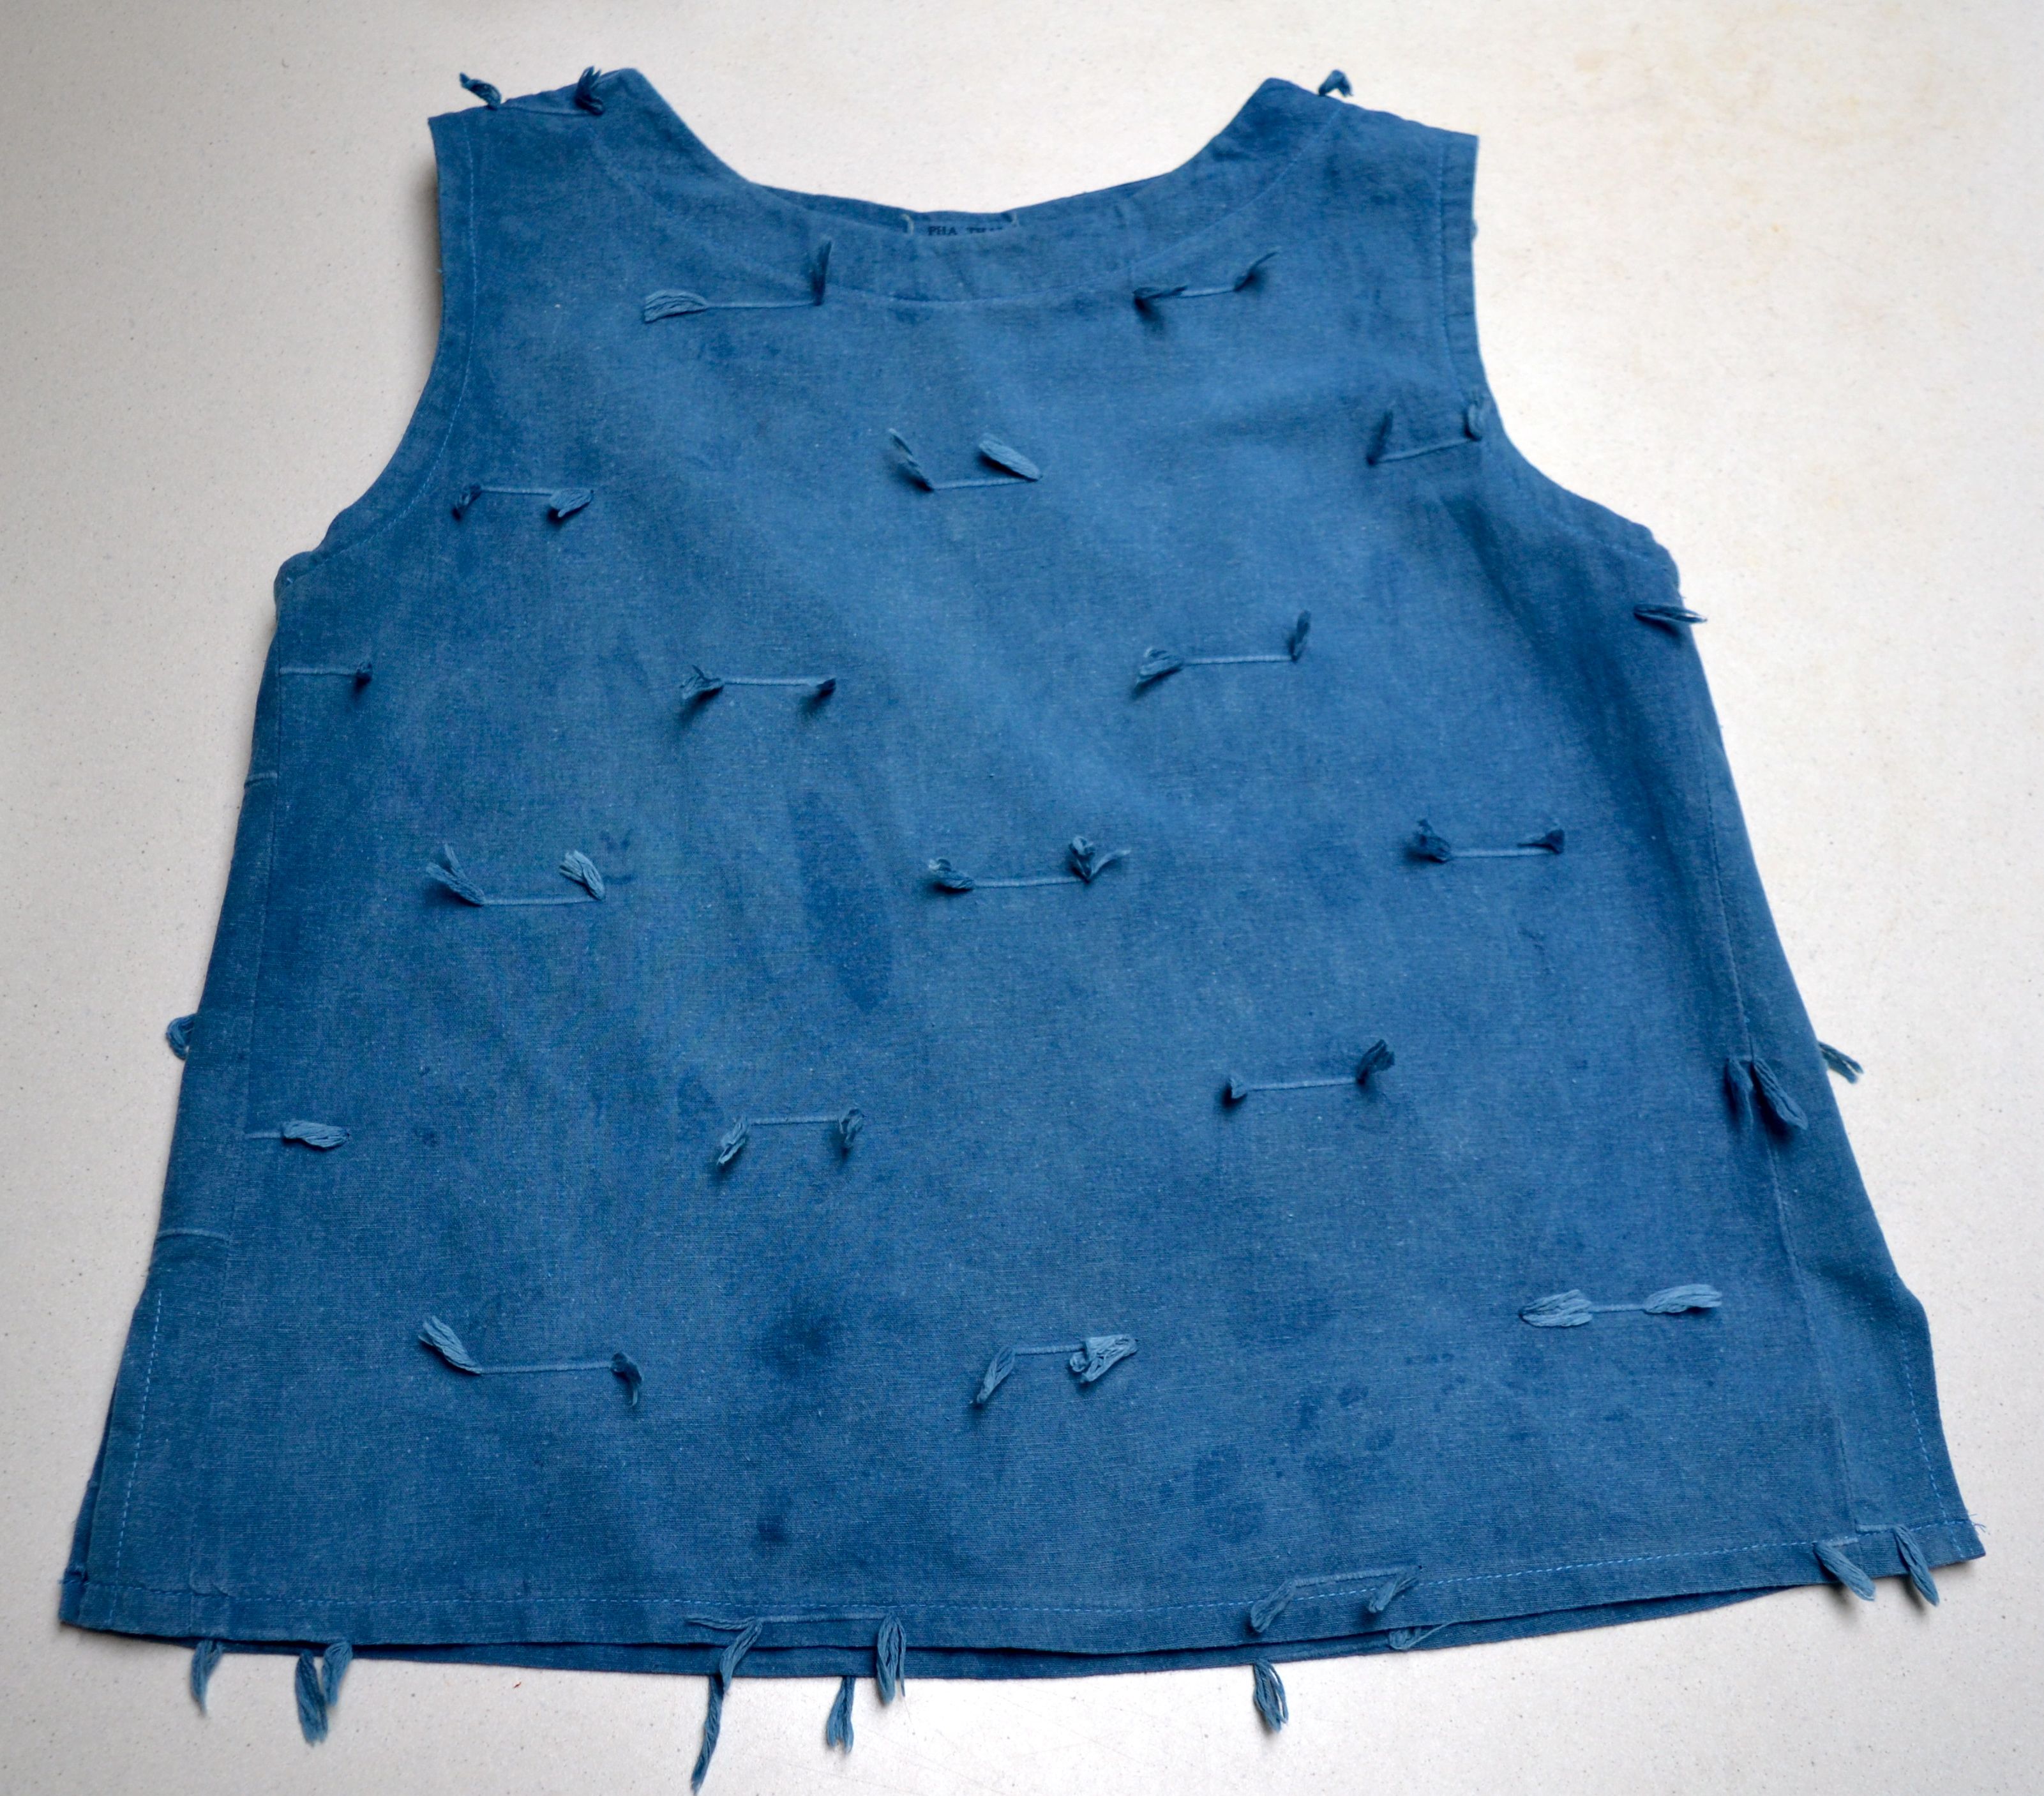
Many dips did not remove the unevenness, so I am beginning to understand why the traditional use of indigo is usually for shibori and other techniques that create patterns. Yes, these patterns are beautiful, but it’s also extremely hard to make just an evenly blue fabric. Even in the modern use of indigo for jeans, the threads are dyed first and woven afterwards, and I don’t think this is any coincidence – if the threads are unevenly dyed, it will not show much after weaving, whereas if you dye the finished fabric, everything shows.
Oh well. I dipped the top until I liked the intensity of blue. I may return to it some other time, maybe I’ll overdye with dark tones from iron and tannin.
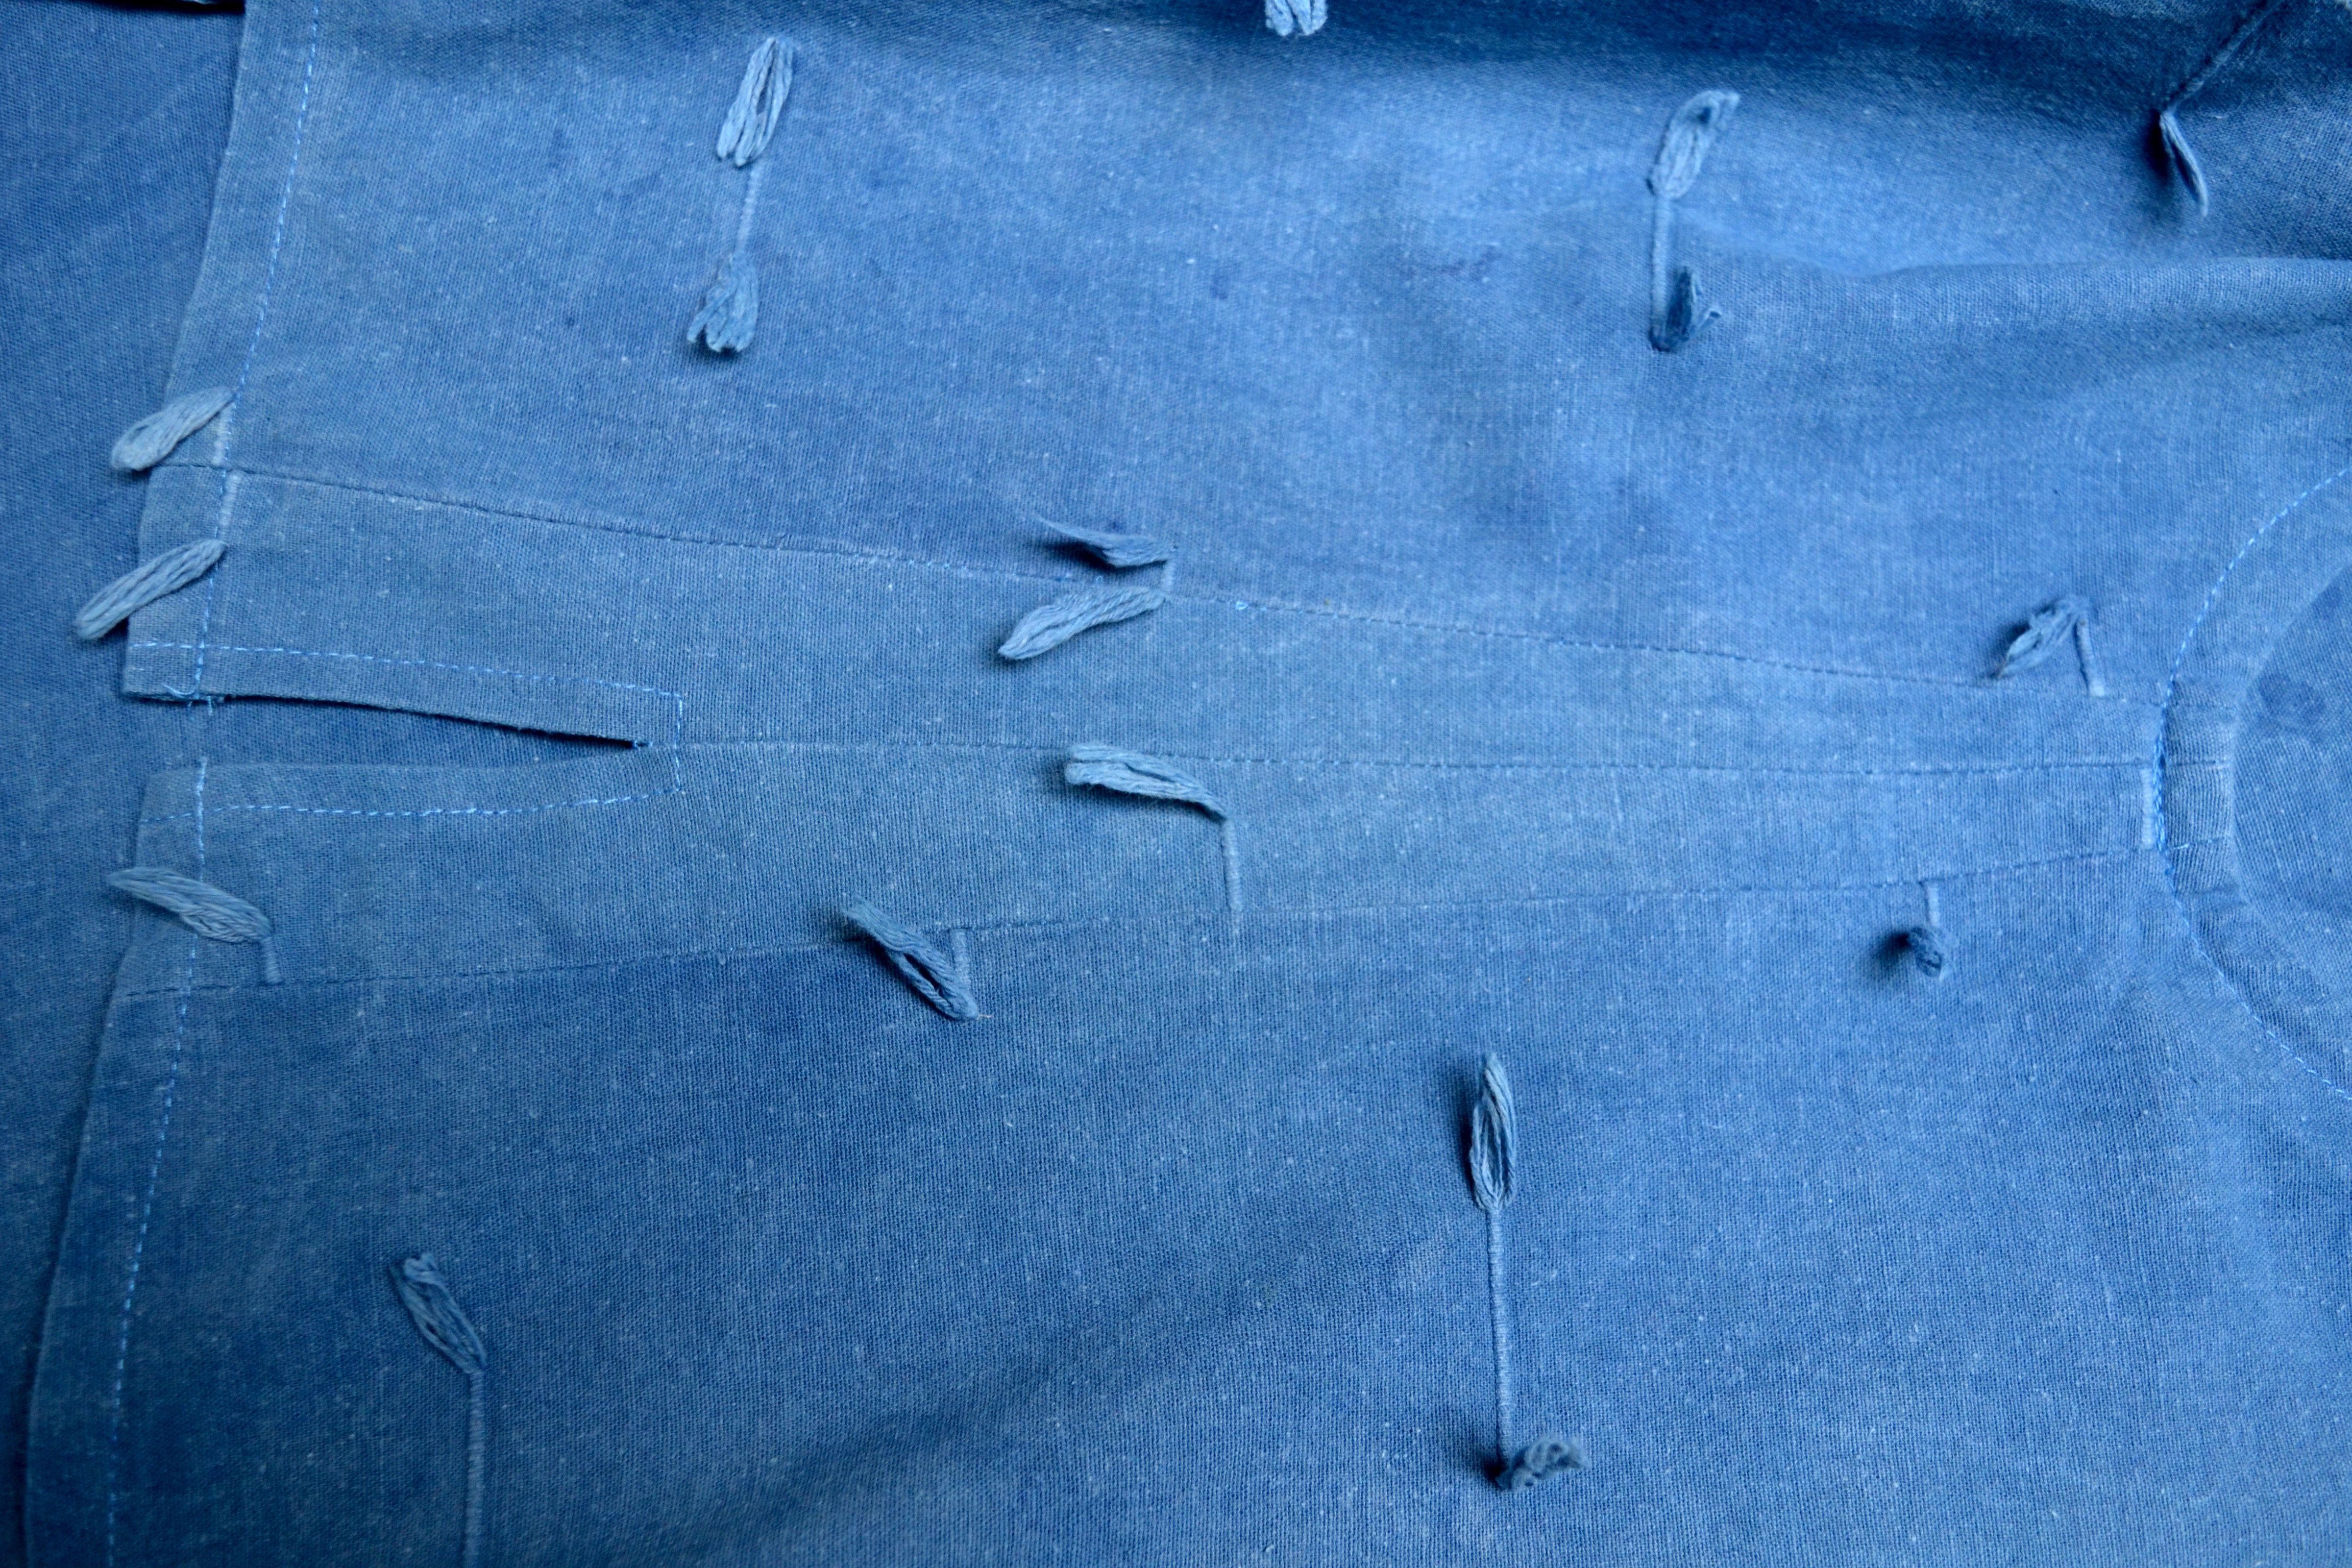
When I had the right blue, I redid all the stitches that show with thread of a matching blue color. I removed the sleeves and cut 4 wedges out of the fabric. Then, I ripped the side seams and inserted 2 wedges in each. This gave me a new side seam so I could easily redo the side slits. I’m happy with the result, and the shape is now a lot more flattering on me. No pics of me wearing it, though, I’m not really fit to appear in front of a camera today!
But in conclusion, wedges like these can rescue lots of clothing that has become too small for some reason.
I had a bit of left over fabric from the Thai top, and that went into another project along with some cotton thread that I used for wrapping a shibori project (more about that one another time). Because the thread was wrapped tightly, it did not dye uniformly, but that’s OK.
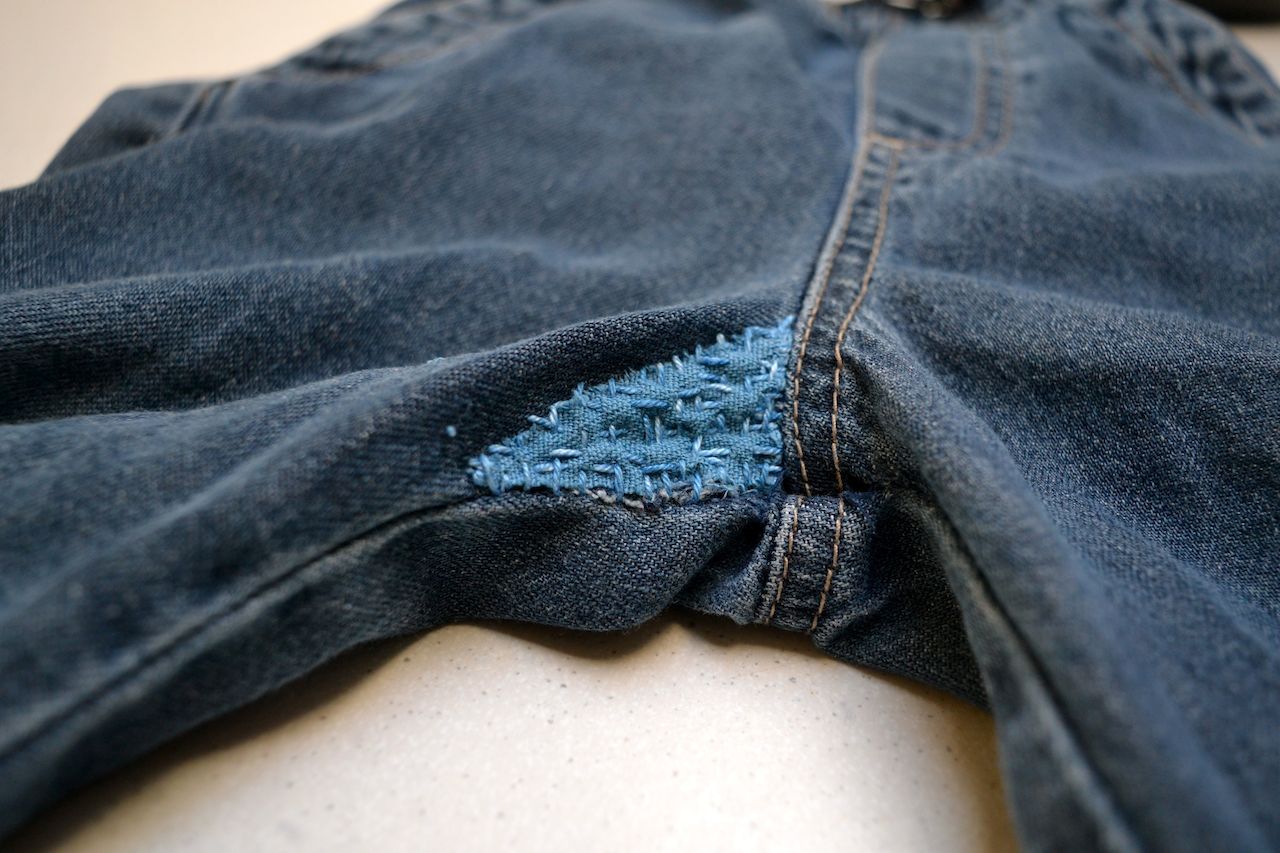
Enter pair of destroyed toddler pants. I’m not sure why an almost 3-year old crawls outside on pavement, what I do know is that it wears through the knees in no time. The crotch was also busted, so I decided to try my hand at some boro – the Japanese mending technique. This is the crotch patched. Not pretty, but very functional:
Here’s a progress photo. I’ve finished one knee, which was not worn all the way through, but had just worn very thin. I put a piece of fabric from the Thai top on the back, and seamed perpendicular lines of running stitches – sashiko. The other knee has worn through and has two holes.
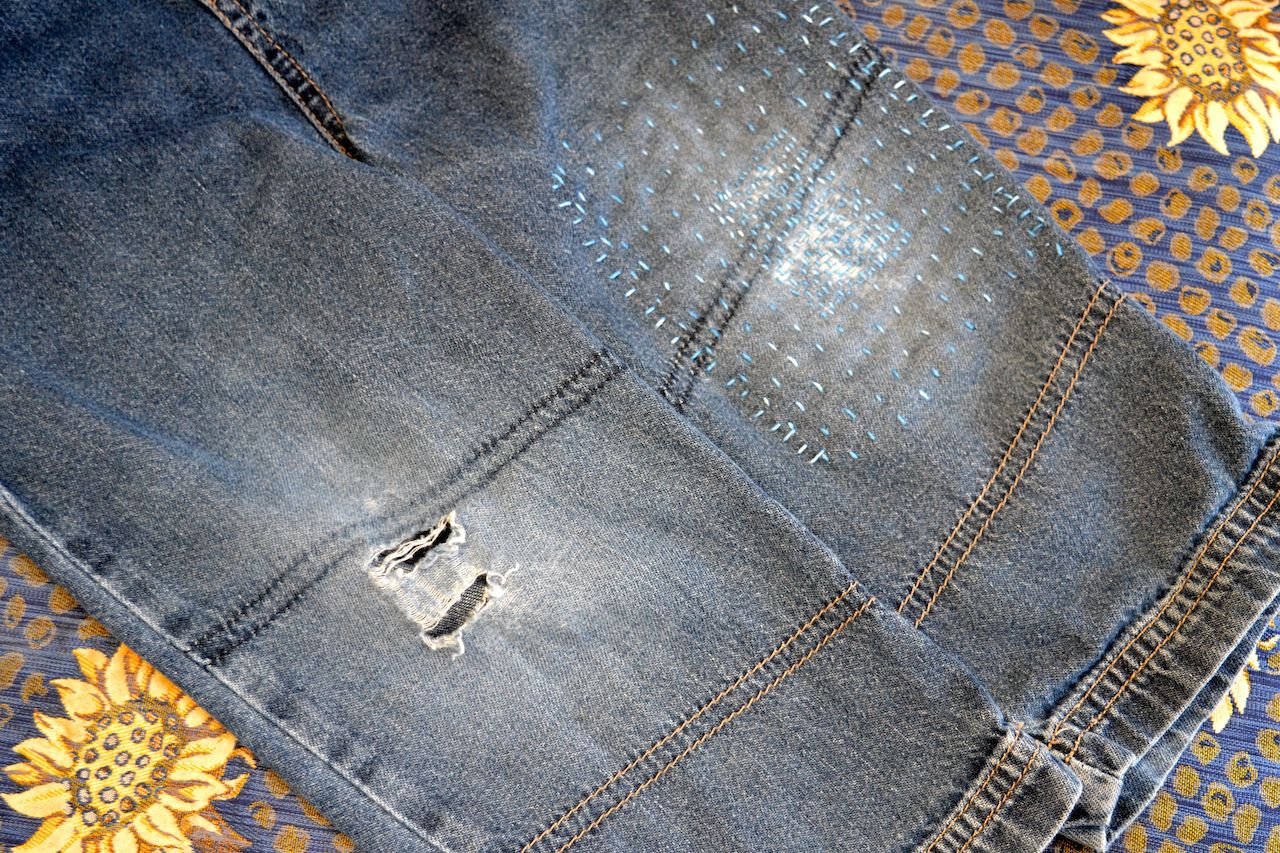
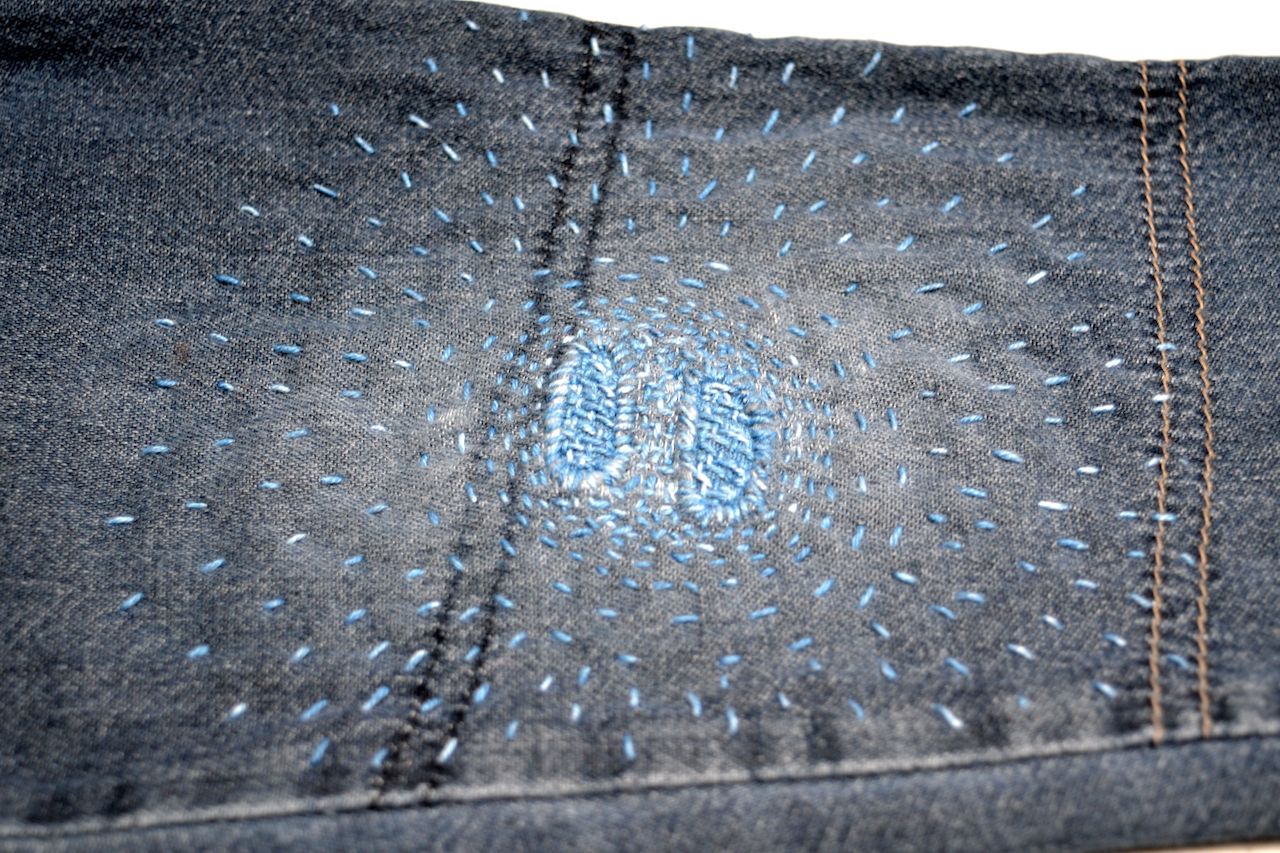
This is what I did with the other knee. Seamed around the edge to stop fraying, then I seamed the fabric onto the back side using circular shapes dictated by the holes. My boro stitching may not conform to very orthodox boro rules (if they exist?), but I do give myself some points for the fact that my boro is true mending, not decoration on purpose-made holes. I foresee more mending like this in my future.
